All about tasks / To-Dos |
  
|
All about tasks / To-Dos |
|
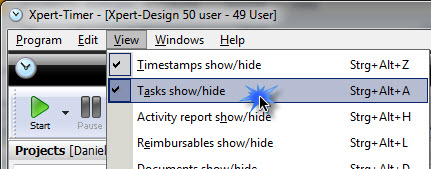
To show/hide your To-Do list in the project manager, click on the menu point "View" and point to "Task List" or use the grafical button.
Graphical button:
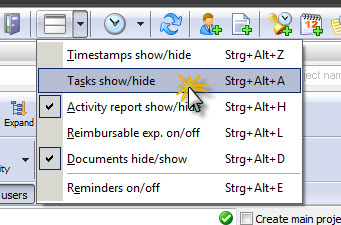
Menu:
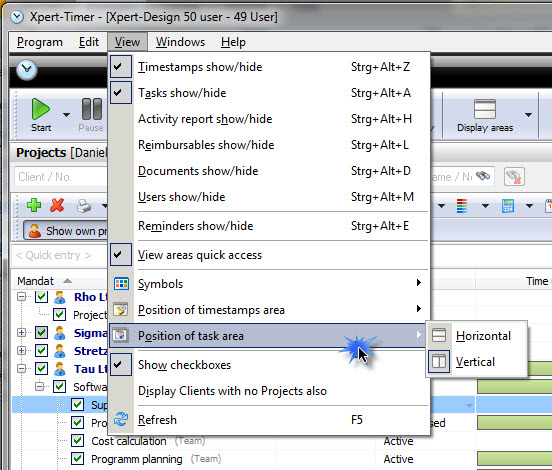
You can decide to view your To-Do list horizontally or vertically in your project manager. To change the view, point to "View" -> Position of task area -> Horizontal or vertical
Your To-Do list is based on the "Getting Things Done" method. You can categorize, group and filter your tasks. Additionally you can time your tasks. You tasks are linked to a project, so if you evaluate your project, you'll also see the timestamps of your tasks you tracked time on. You can estimate every task. This way you can plan your 8 hour working day and optimize your workflow. At the end of the day you can double check all your task, the duration and identify your time wasting tasks.
There are two different kinds of To-Do lists available in Xpert-Timer. One is included in your project manager and one is floating on your desktop. You have to decide yourself, which one you like better.

In this To-Do List you can drag&drop your tasks anywhere you want. You can move them for example from one category to another.You can also drag and drop them from one user to another, if you have the tasks grouped by user.
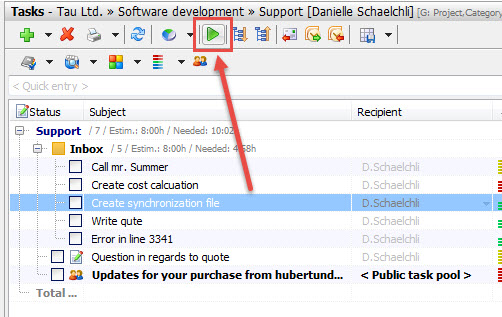
In this window, you can right click a task and start timing it. If you do so, a timestamp is created with reference to the taks and the comment of the timestamp will be filled with the subject of the task.
You can display the time you needed for every task in your To-Do list. The best way is to group your To-Do list by "Projects". Now you see a list of needed time per task.
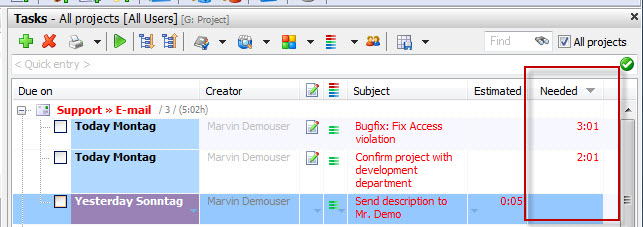
If you set any filters or grouped your tasks in the To-Do list, you'll see a small blue check on the button. Also all filters are displayed again after the area header "Tasks". In our example, we view all tasks of all projects over all users, grouped by project and filtered for pending tasks.

The personal To-Do list appears empty the first time you start Xpert-Timer.

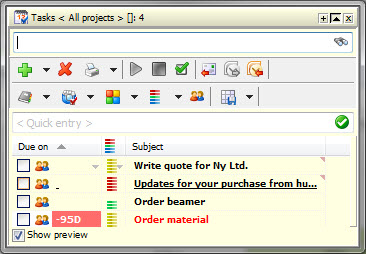
You've got multiple options to create a new task:
1.) If you have a project running and suddenly you have an idea of a task, you can use the Quick entry to create one. It will automatically be created, linked to the running project with "normal" priority.
2.) Click on the green plus to create a new task. This option allows you to edit all settings, e.g. priority, category, creator and many more.
3.) If you right-click in the To-Do list, you can choose "New task".
All created tasks will appear in your personal To-Do list. If you run the mouse over one entry you'll see the additional info entered.