The areas in your project manager |
  
|
The areas in your project manager |
|
The project manager is the main hub of your Xpert-Timer. Here you add new projects and you can reach all modules and functions of the program. You can open your project manager from your time bar:
![]()
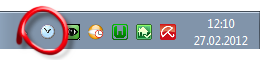
or right click on your Xpert-Timer tray bar button.
1.) Projects: This is a list of all your projects you created. You can group them, filter them sort them by multiple options.
2.) Tasks: This is your To-Do list. Here you should enter your daily tasks. You can also group, categorize and filter them.
3.) Timestamps: This is the list of all your created timestamps.
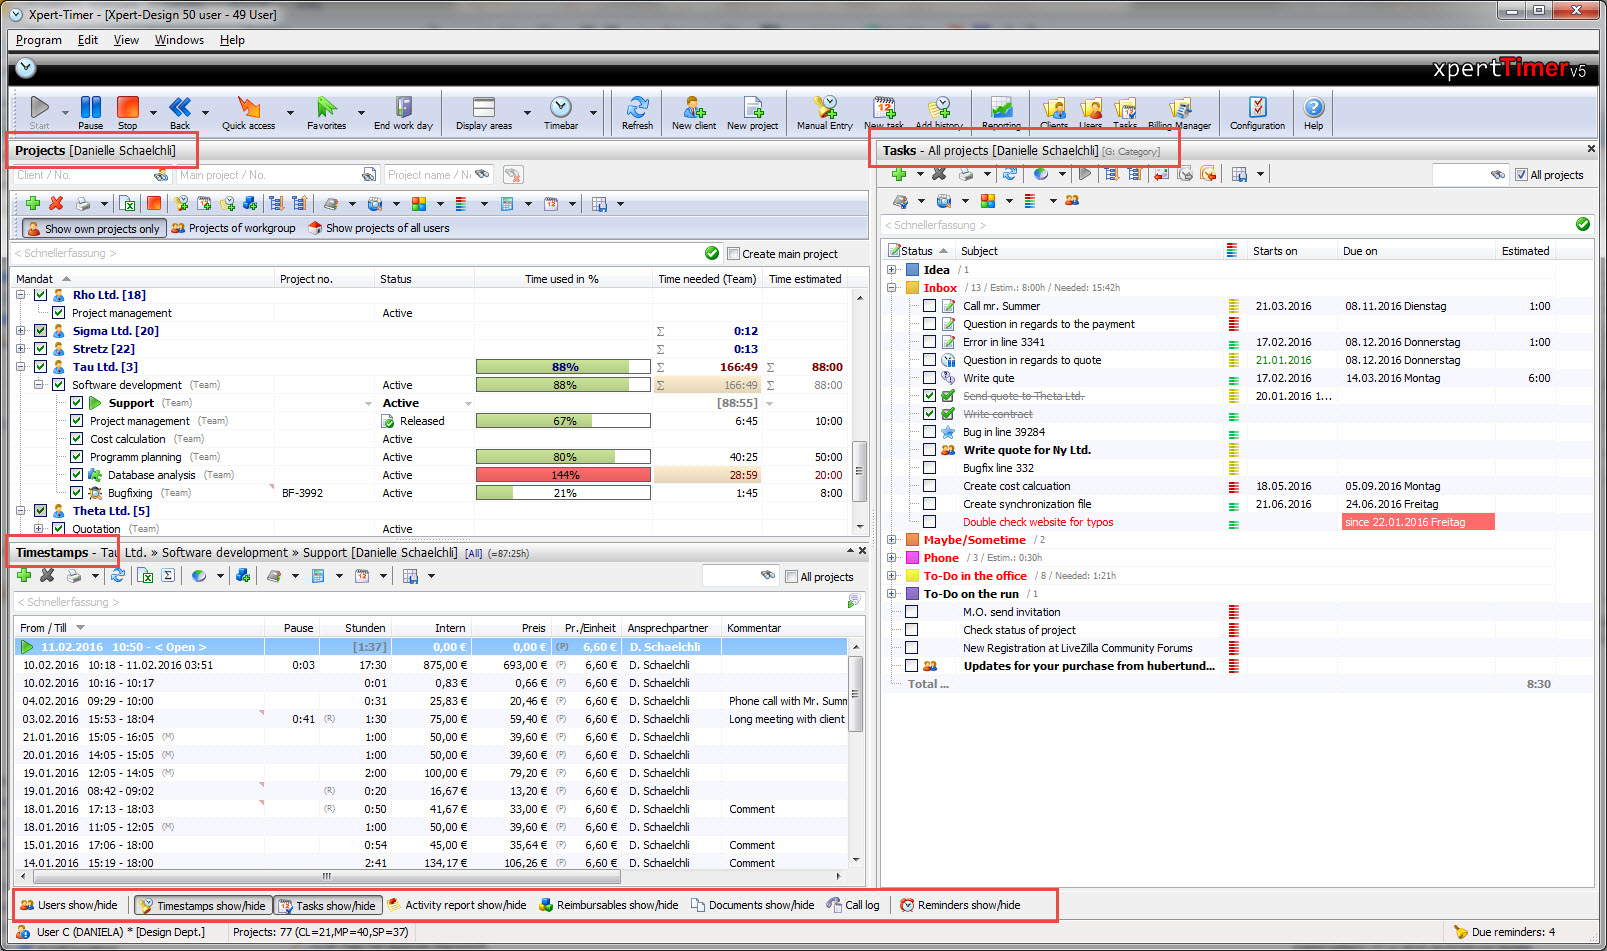
Depending on the modules you've purchased, you can see the buttons for them at the bottom of the project manager. Marked red in the screenshot above. You can hide or show the areas by clicking on the button.
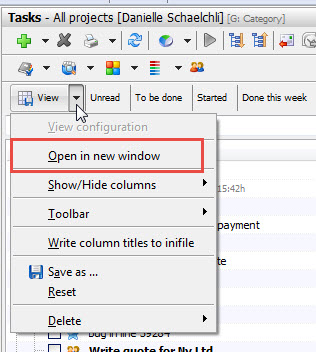
Use the "View" button, to display the timestamp list, the To-Do list and the reimbursables in a separate window. This is especially handy, if you've entered a lot of data.
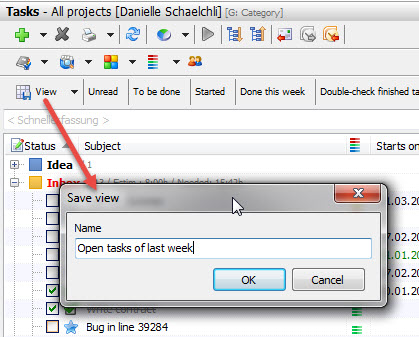
Now you can save your grouping and filter settings in the "View" menu. So if you need to filter your data often in a different way, you can easily click on a saved view and the project manager automatically gets reorganized the way you need it.
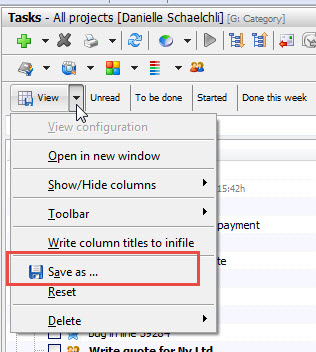
Enter a distinct name, for example: "Open tasks of last week".
Now this button gets available in your project manager. If you don't see those buttons, right click in your button area and display the buttons and show or hide the quick entry line.

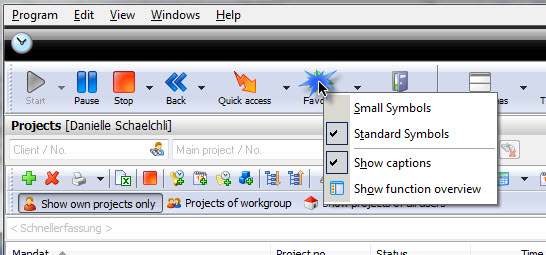
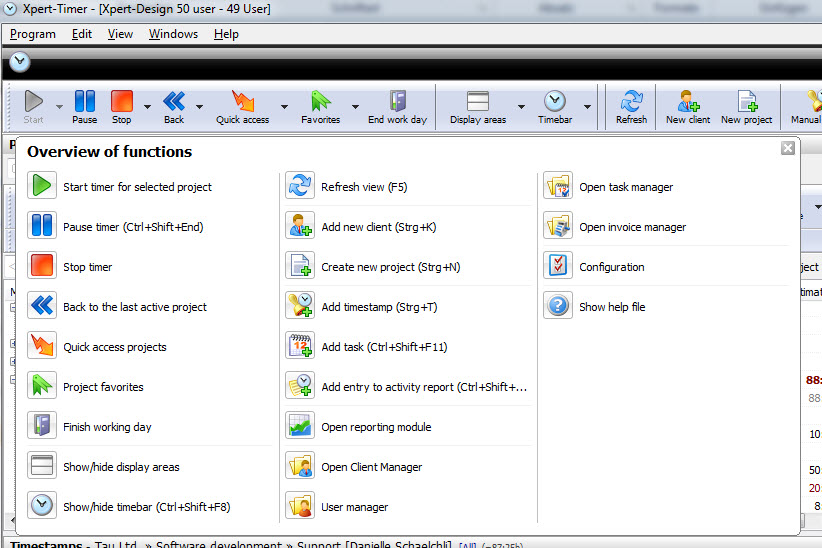
If you right click on your graphical menu bar in your project manager, you can show your function overview, show/hide the captions or change the size of the symbols.
The function overview:
After you get to know Xpert-Timer better, you can hide the captions, to save some space. Right click on on of the buttons and you get an option to hide the captions.

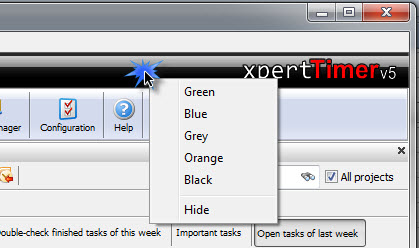
You can also change the looks of Xpert-Timer. Right click on the graphic and experiment with the colors. Choose the one you like best!