Quick overview |
  
|
Quick overview |
|
Welcome to our short tutorial, that will guide you through most of the features of the Xpert-Timer. The tour shows the most important steps from creating a project to billing in the Xpert-Timer:
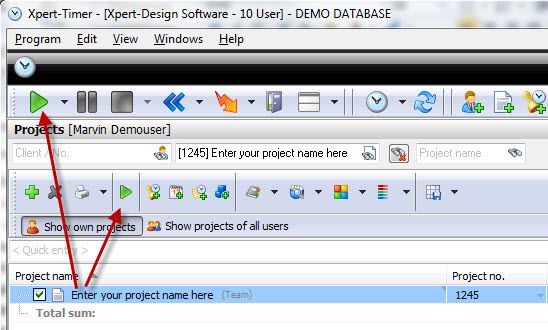
Now the time on the time bar starts running as well. You can always see the current running project on the time bar. Depending on the configuration of the time bar, you see the buttons, your name, the project name, the duration, countdown, charges,running time of the project and your current daily working hours. In our case the Example project has been running for 20 minutes. Please note, there's no seconds in Xpert-Timer.
Right click on the time to switch through different sums. For example: Total daily sum, project sum... If you don't want the time bar blocking other windows on your desktop, hold down the Ctrl key and run the mouse over the time bar. It will jump out of the way. In order to activate this function you need to check the option "Hide time bar when Ctrl + mouse cursor contact" in the configuration. If you double click on the project name, the project settings will open. You can configure this behavior also in the configuration. |
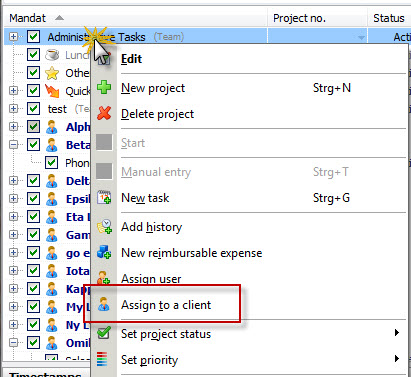
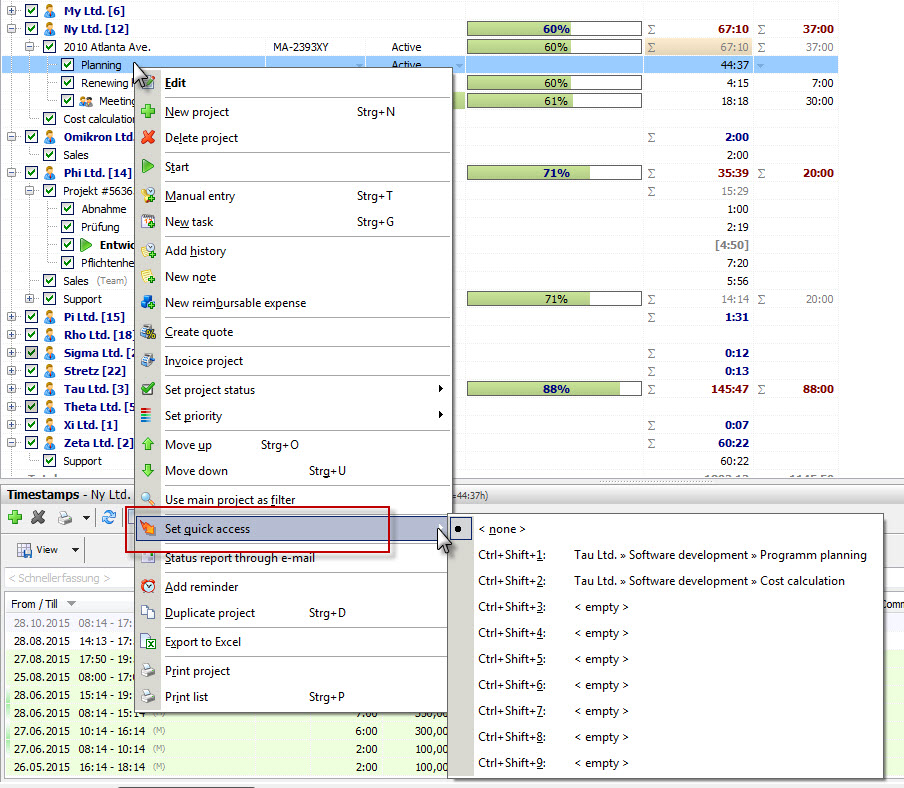
After you added new projects, assign them to certain shortcuts. Right click on a project, choose "Set quick access" and assign a combination to your project. This way it is much easier to change from one project to another.
In this example I used the shortcut for the main project "Engine for MSC Docker", which opened a list of available sub projects. By hitting number 3, I'd start the project "Production". Please note, that the Windows key, using Windows7, won't work as a shortcut. You'd need to change the shortcut combination in the configuration of Xpert-Timer.
|
||||
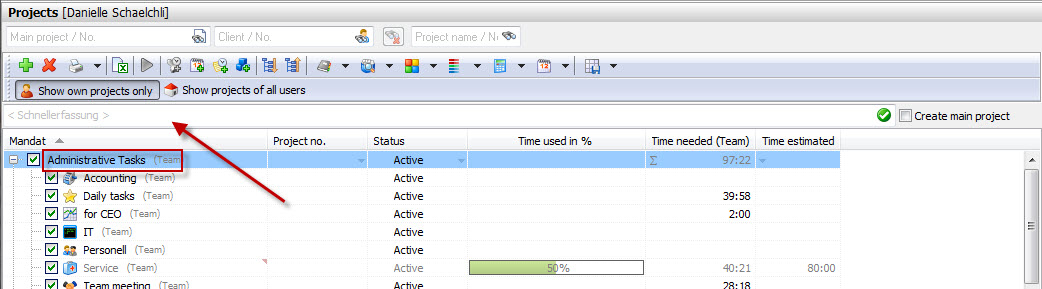
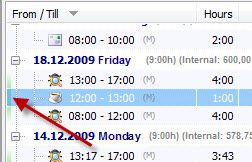
Optionally, you can view your timestamp in the project manager. These will appear in a list, either horizontally or vertically in your project manager.
The narrow green line on the left side of the timestamp appears, when all listed timestamps are in order, meaning they have no gaps. If there are any gaps in the time stamps no line will appear and if the times are overlapping, the marker is red.
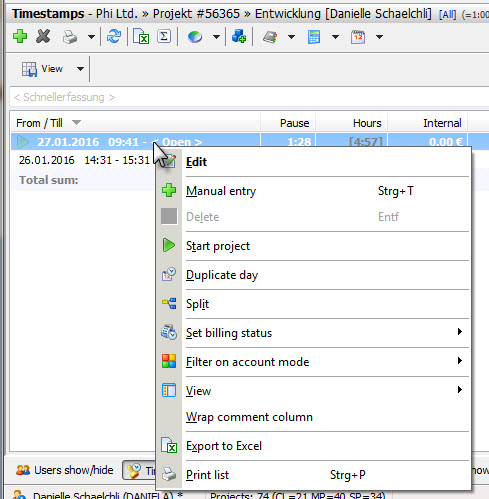
If you right click a timestamp, you get following menu:
You can manually edit your timestamp. If you want to merge or split your timestamps, you can do this, too. Please note that you can only merge timestamps of the same project. If you split a timestamp, you'll be asked when to split it. If you need further information on this function, point to the chapter "Timestamps" If you want to keep track of your billed timestamps, you can set the billing status for certain timestamps to "Billed". Print timestampsYou can print your timestamps any time the way they are filtered in the project manager. Group them or filter them by using the menu buttons and show/hide columns by right clicking on the column header.
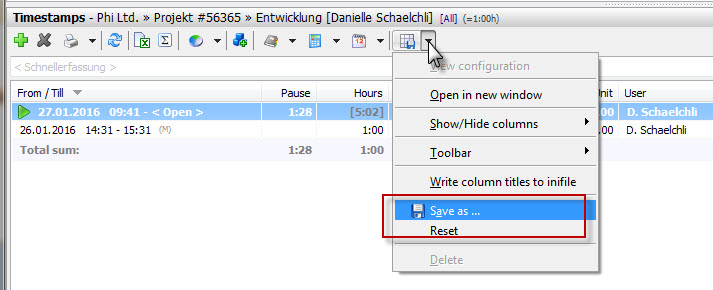
Use the "Save view" button to save all your filter settings. Use the button later again, to chose from saved settings.
|
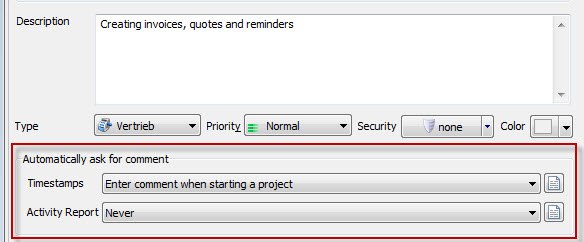
In order to keep perfectly track of everything you are working on, you can create comments to your timestamps. The timestamp list is shown in your project manager by default, but can be hidden if wanted. Point to 'View' -> 'Timestamps' and decide to show them vertically or horizontally. In the project settings you can decide to be asked to enter a comment on different status changes. For example: Enter comment on every project stop. You can directly enter a comment in your timestamp list, when you mark the timestamp and hit F2 or click on the comment field. You can also copy a timestamp comment using Ctrl+s for copy and Ctrl+v for paste.
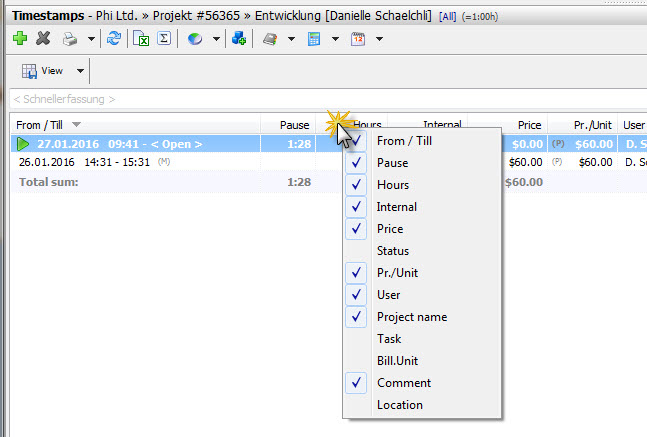
You can print your timestamps any time the way they are filtered in the project manager. Group them or filter them by using the menu buttons and show/hide columns by right clicking on the column header.
|
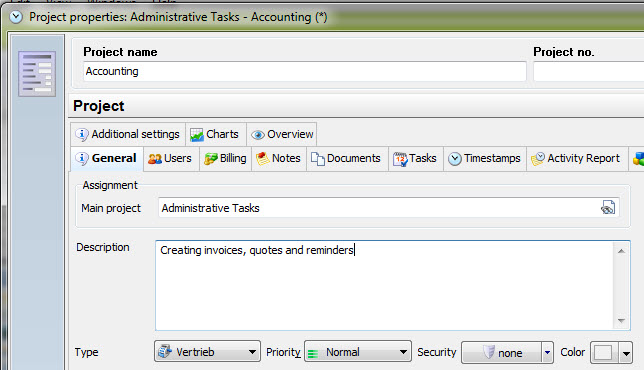
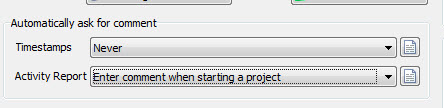
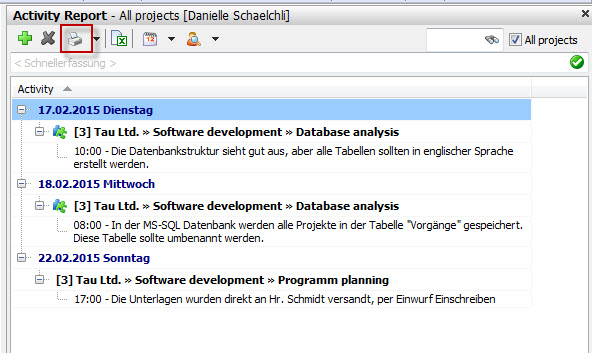
To follow the development of your project, you can either use timestamp comments or the activity report. Double click on a project and choose "Activity report" in order to add an entry. The activity report is not based on timestamps. So it only makes sense to use it, if your entries don't need to be documented together with the timestamp. If you need to know exactly what you did at what specific time, you need to work with the comments on timestamps.
You can decide, if you want the application to ask automatically you for an activity report entry as soon as you start timing another project or shutdown the Xpert-Timer. You can change the setting in the configuration.
Of course you can print the activity report.
|
![]() Add a new task in your To-Do list
Add a new task in your To-Do list
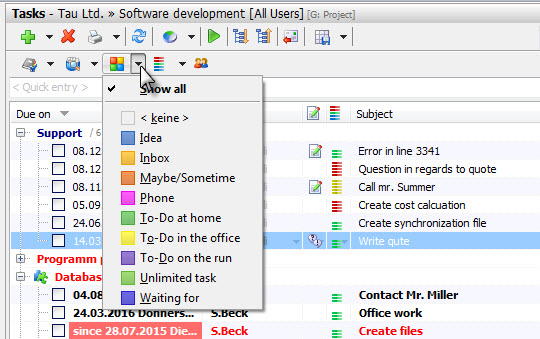
Use the "View" menu to display certain areas in your project manager.
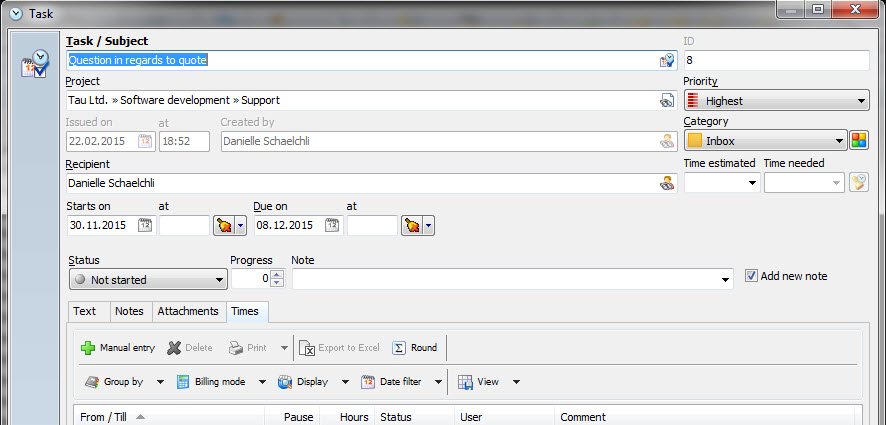
First assign a name to your task. This subject will also be displayed in your To-Do list. The ID number is assigned automatically and can be used for reference, e.g. in meetings. The ID number cannot be changed.
It's necessary to link the task to a certain project. The priority of tasks range from "Low" to "Immediately". For priority "Immediately" the fields "Due Date" and "Starts at" are irrelevant, because the task needs to be worked on immediately.
Enter the person who is supposed to fullfil the task. You can also enter part of the name and press "Enter" on your keyboard. Xpert-Timer then selects the appropriate employees. In order to keep track of all your tasks and sort them, you can use categories. Those categories can be renamed in the configuration dialog of Xpert-Timer. You can then filter your tasks by category in your To-Do list.
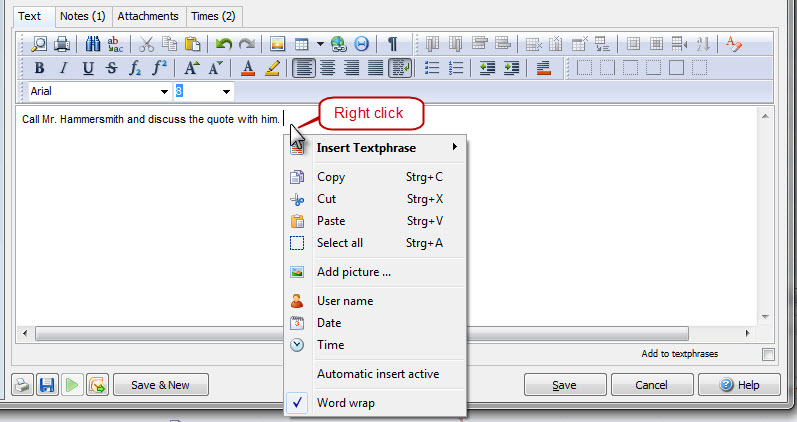
A due date is necessary if you need a certain task to be finished at a certain date. You can also estimate the duration of the task for your reference. If you need to print the duration, right-click on a column header and show the duration column. Last but not least you can enter a description of the task. You can use text phrases by right-clicking into the text field. Multiple other functions are available in the context menu. E.g. entering the user name, date, time and may more
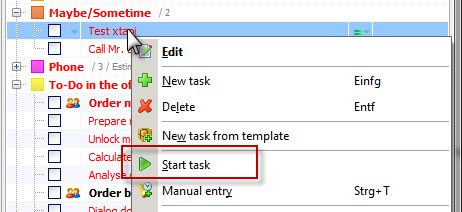
If you right-click on a task you get the context menu with many options. Point to "Start task" in order to start the timestamp. If you want to edit the comment of the timestamp you can also hit Win+F4. This will open a dialog where you can edit the start time and comment.
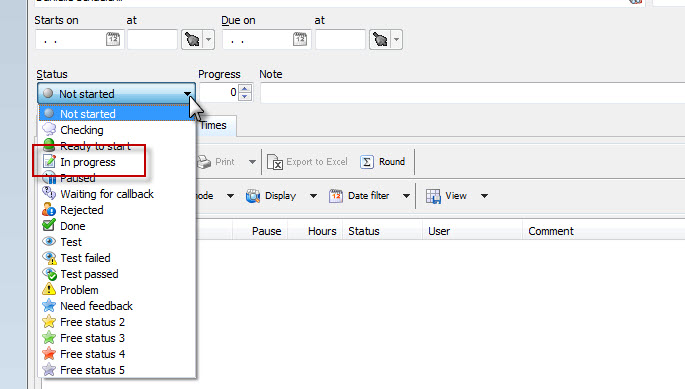
You can also set the priority, the category and the task state here. The task will automatically set to the state "In progress" if you click on "Start Task".
You can move your tasks by dragging&dropping at any time. This makes it easy to arrange them. For example, just drag one task from one category into another...easy!
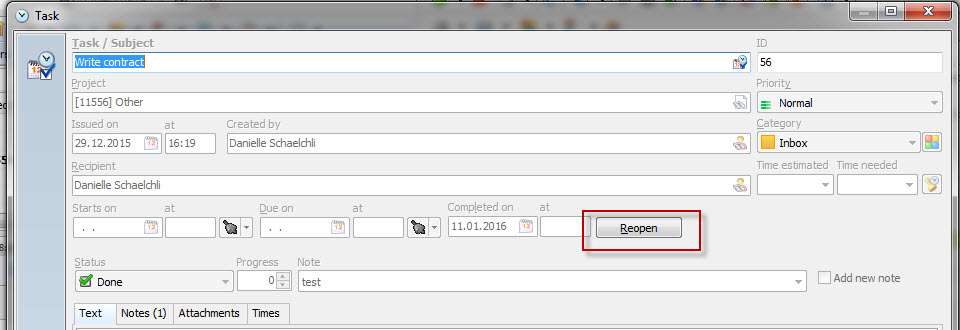
To reopen tasks click on the the appropriate button in the Task dialog:
Visit the chapter "To-Do list" in order to find out more functions. Thanks for reading this quick overview of Xpert-Timer. |